


Why I Renovated My Bathroom Using Shiplap
Contributed by Made by Carli
Shiplap is a versatile and attractive option for adding texture, dimension and interest to a space, and in recent years, it has become quite a household name. When I came across Royal® Building Products PVC Shiplap I immediately knew it was the perfect remedy for my dated pink bathroom tile.
The bathroom in our 140-year-old fixer-upper hadn’t seen an update (I’m guessing) since the ‘60s. It had pink ceramic tile and gross linoleum floors — with countertops to match! The wall paint was peeling due to poor ventilation and the entire space felt dingy and extremely cluttered.
While a complete gut job would have been ideal, we currently live here, and couldn’t really manage that much demo and debris. Instead, we opted to steal space from an adjacent hall closet, and opened up the wall, giving an additional 21 square feet of space to this tiny bathroom. However, we still had all of that dated tile to deal with.
If you’ve ever had to demo tile, you know that it is an extremely messy job and disposing of debris can be costly. So when I began planning my renovation project, I chose the next best thing: covering it up! Covering up the dated tile with the shiplap easily, and inexpensively, provided me with a fresh, new clean slate in my bathroom.
There are quite a few reasons why I chose PVC shiplap over wood shiplap:
- PVC shiplap is waterproof and mold resistant.
- It’s flexible and works extremely well in a space with lots of slants and angles.
- PVC shiplap is lightweight and prefinished, so it’s easy to install.

By simply securing the shiplap to the tiles using construction adhesive, I was able to almost instantly update our bathroom, and you can, too! Here’s how:
Materials:
- Royal® Building Products PVC Shiplap
- Royal® Building Products 1×6” board for baseboard
- Royal® Corner Guards
- Royal® Building Products 2.5”x8’ Prefinished PVC Chair Rail Moulding
- Construction adhesive
- Caulk
- Caulking gun
- Nail gun and brad nails (if shiplap extends beyond tile as it did in my case)
- Spackle
1. Prep your walls
If you are installing over tile, wipe your walls down to ensure they are free of debris and dust. If you plan to extend your shiplap beyond the lower tile wall, nail shim pieces to ensure the shiplap at the top of the wall is flush with the bottom of the wall.
2. Cut
Cut your shiplap to size, squeeze a few beads of construction adhesive along the edges and middle of the shiplap plank.
3. Adhere
Firmly adhere the shiplap to the tile, and if applicable, shoot a few nails into the shiplap on the top of the wall to make it extra secure. Work your way around the room. Finish outside corners with PVC Corner Guards.
[related_post id=”4305″]
4. Trim it out
Add a 1×6” baseboard to the bottom of the shiplap using construction adhesive. Install chair rail to the top of the planks using brad nails.
5. Smooth finish
Caulk any gaps for a smooth finish. Paint in your favorite latex paint color.
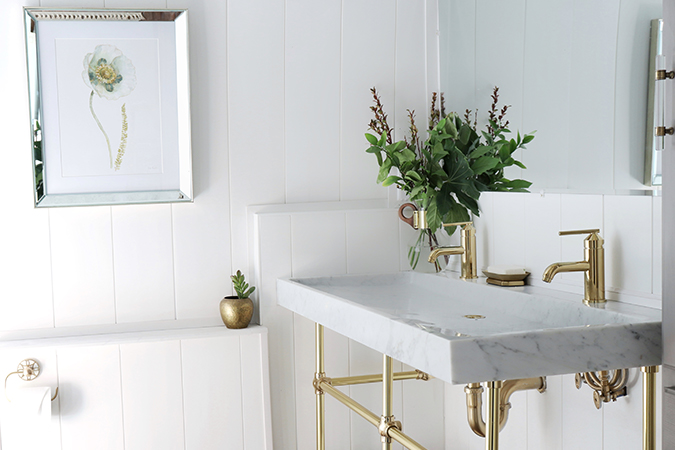
I am so thrilled with the results of this renovation. Using the PVC shiplap saved me so much time, money and mess, which was a win-win for us for sure! The shiplap, paired with the chair rail moulding and chunky baseboard, resulted in a clean, timeless and charming space that we can enjoy for years to come.
Ready to get started? Find Royal® Building Products PVC shiplap products through our Product Locator.