

How to Build a Patio Cooler Stand Using Leftover Decking
Looking to put your leftover decking materials to good use? A patio cooler stand makes a great weekend DIY project. The number of boards you’ll need will depend on the desired size and height of your cooler. We used Zuri® Premium Decking by Royal® and included the measurements below for easy reference.
Materials:
- Styrofoam cooler
- Leftover decking boards (slats and L-shaped pieces)*
- 1 set of 2 1/2″ zinc narrow hinges
- 1.5” nails
- Zinc handle
*We used 5.5”x1”x96” slats of Zuri as a baseline for all of the below materials. Keep in mind that board sizes vary and can expand or contract due to varying climates.
| ZURI SECTION LENGTH/TYPE | QUANTITY | USE |
| 22”/5.5” Slat Zuri board | 6 | Front and back panels for cooler body |
| 17”/5.5” Slat Zuri board | 6 | Side panels for cooler body |
| 20”/5.5” Slat Zuri board | 6 | Lid and bottom of cooler body |
| 38” L-shaped Zuri board | 6 | Legs |
| 14” L-shaped Zuri board | 2 | Brace for lid interior |
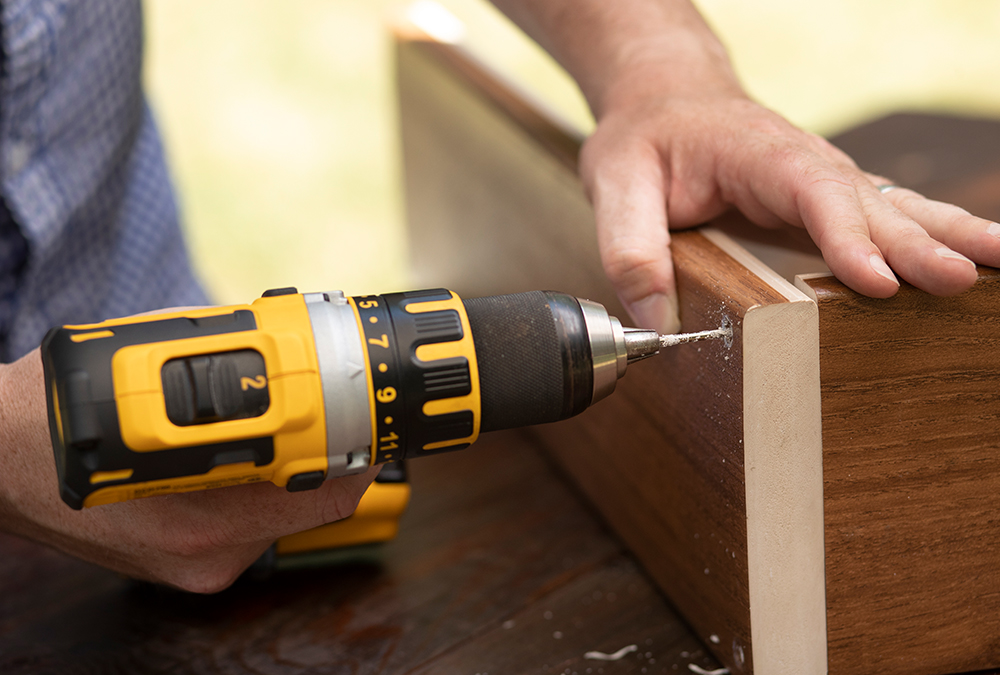
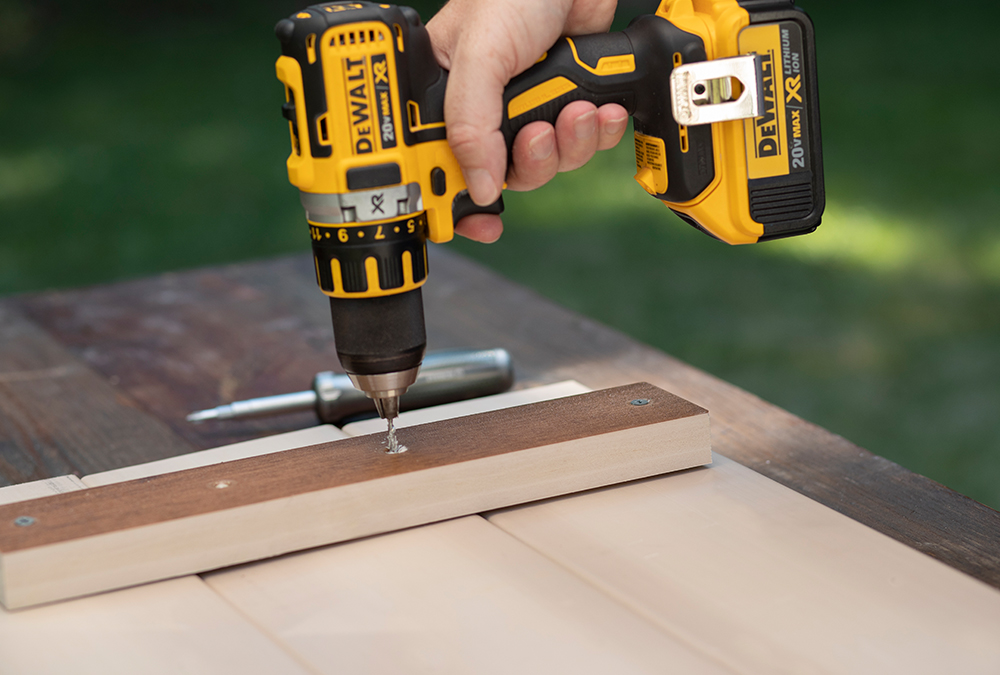
Step 1
Measure and cut the wood that will surround the cooler. Measure and pre-drill pilot holes for connecting your boards together.

Step 2
Build a rectangular box using the wood you measured for the front, side and bottom panels. Insert 1.5” screws into pre-drilled pilot holes. Repeat process for the other two cooler body segments. Build the bottom of the cooler on one of the boxes.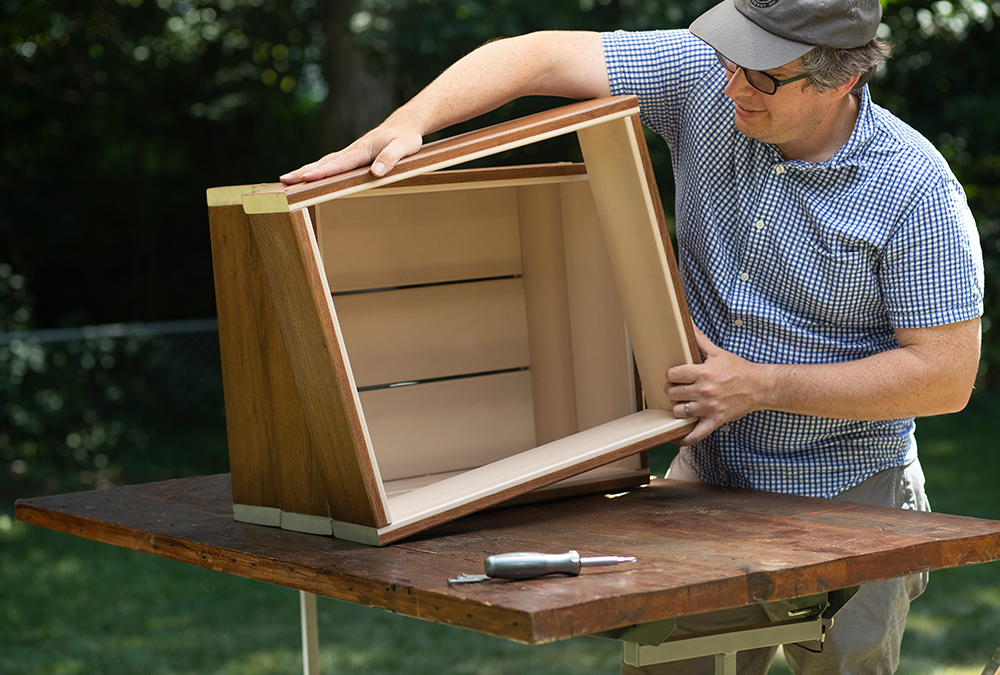
Step 3
Align your three boxes. Pre-drill one hole in each of the side panels to align with desired leg placement.
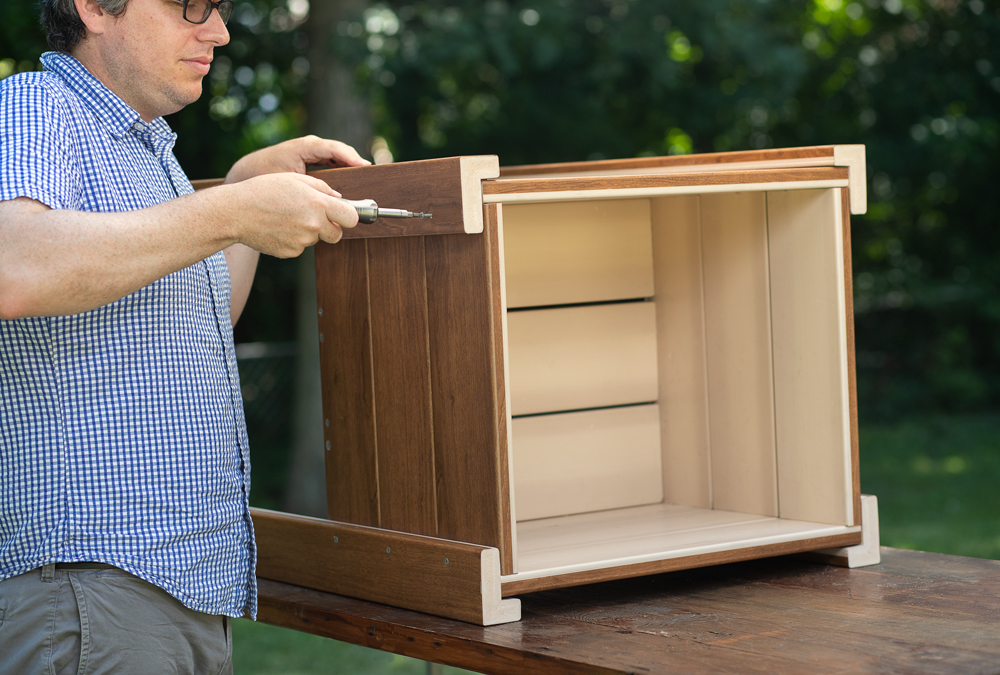
Step 4
Line up L-shaped decking pieces so the edges are flush with the top of the cooler body. Using a Phillips head screwdriver or drill attachment, carefully connect the L-shaped legs to the cooler body using 1.5” screws.
Step 5
Align the slats needed to form the lid of the cooler holder. Use smaller pieces to create cross braces to connect your lid pieces.
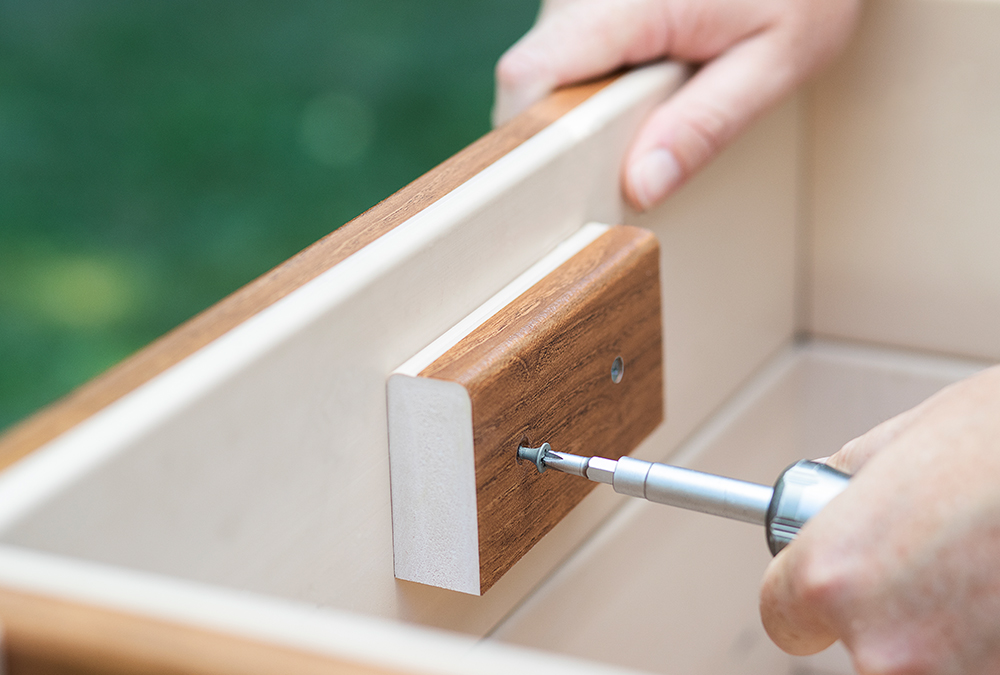
Step 6
On the topmost front panel, measure down 1” and install a lid stopper using a 4” section of decking.
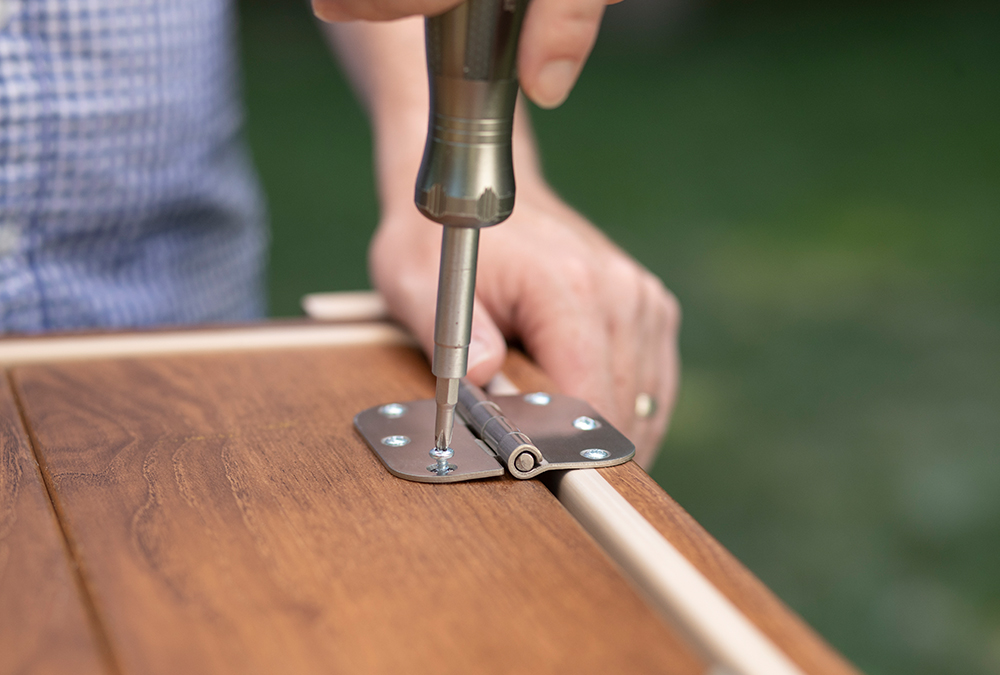
Step 7
Screw hinges into the body of the cooler.
Step 8
Screw the handle to the lid.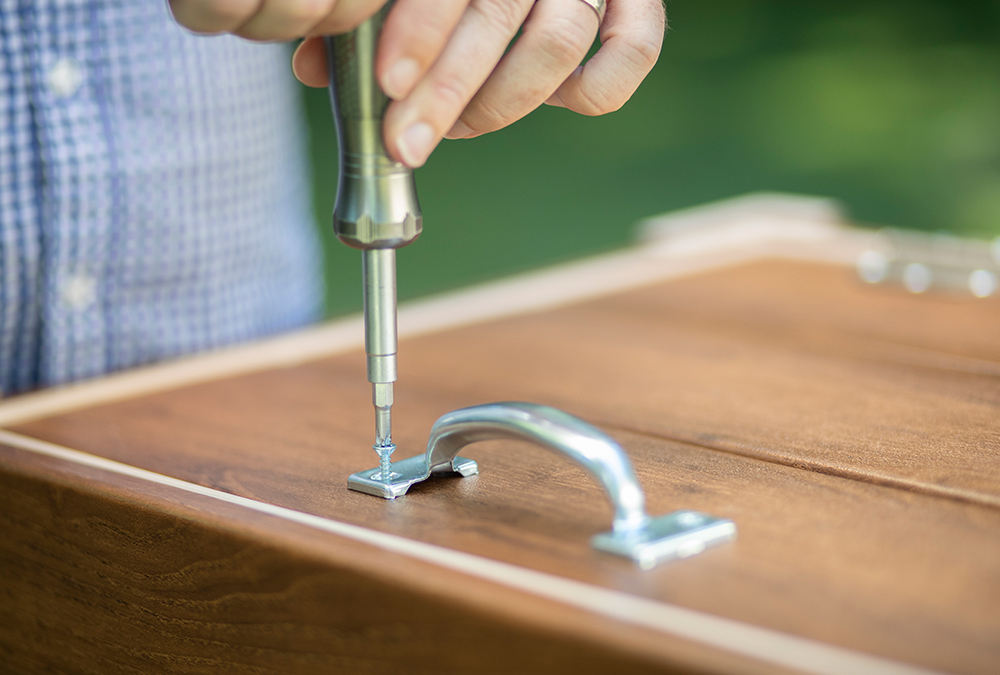
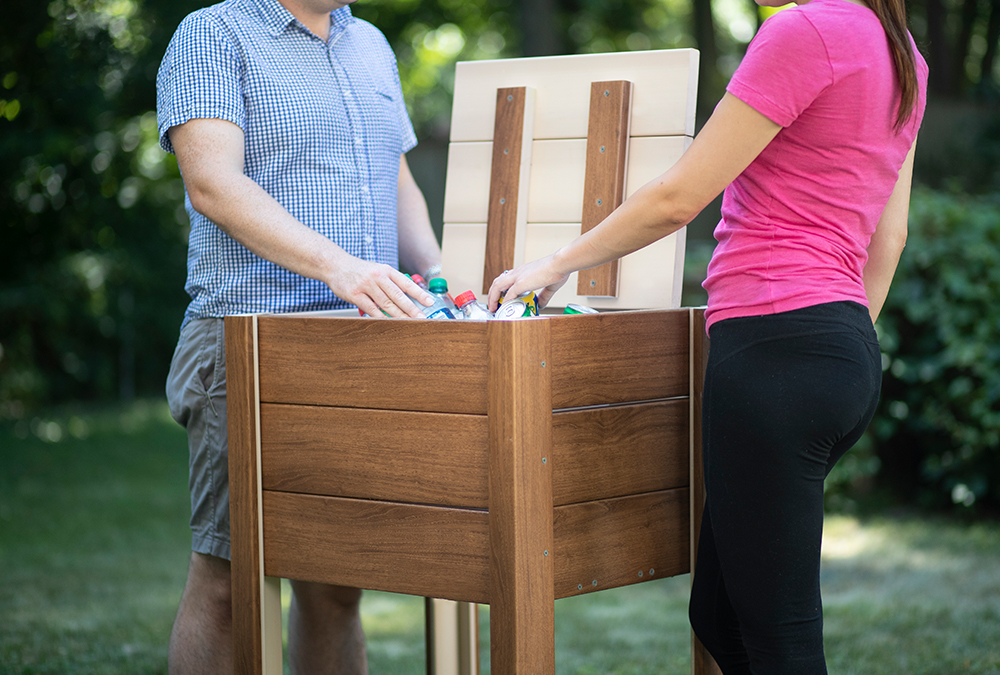
Step 9
Drop in your cooler, fill with ice and your favorite summer beverages. Enjoy!