How I Renovated My Historic Entryway Using PVC Trim
Beginner-Friendly Beaded Recessed “Panel” Wall Treatment
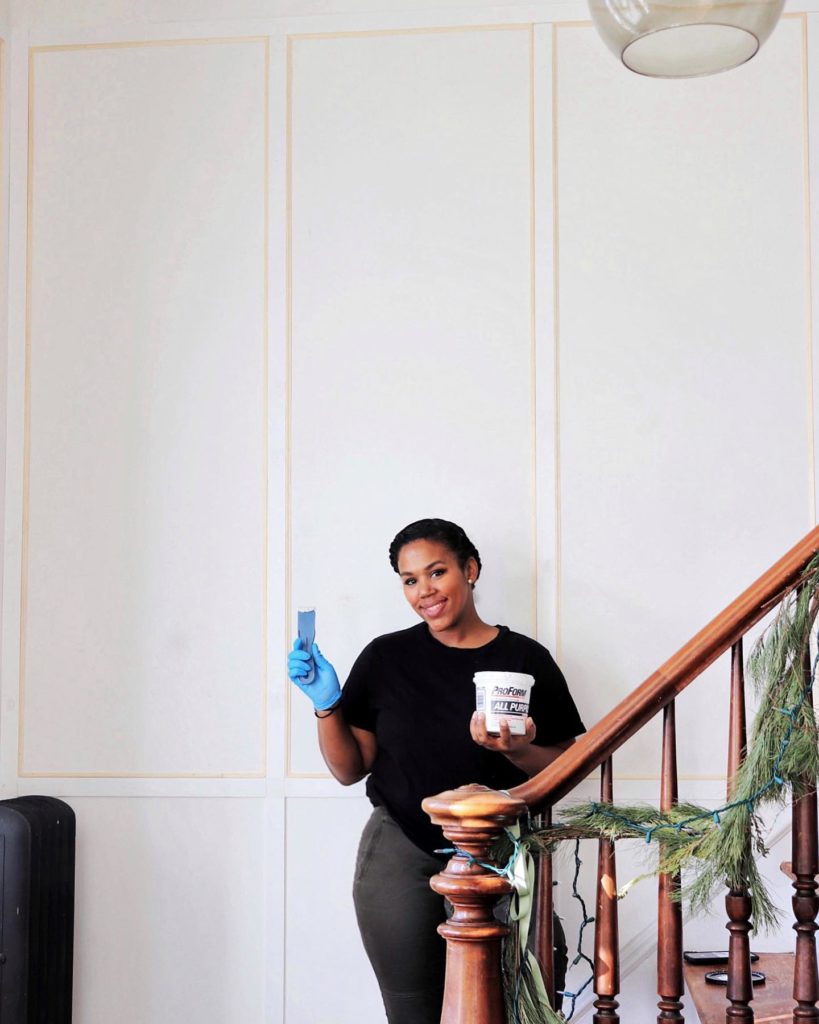
Contributed by Made by Carli
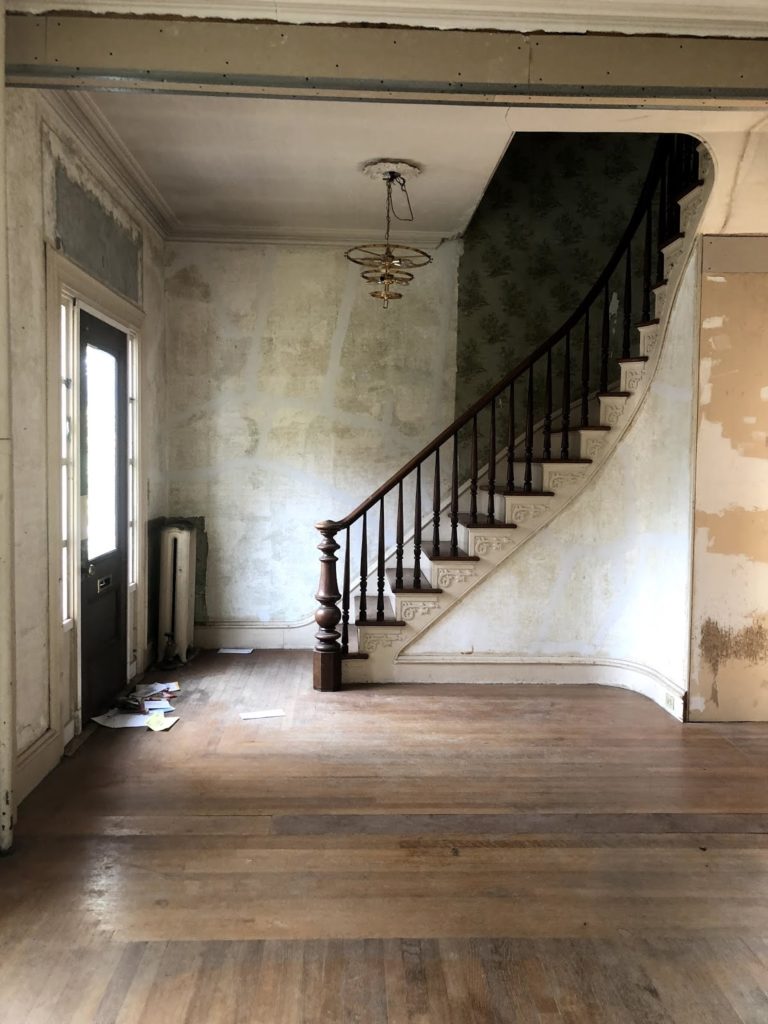
Our home is a Victorian, built circa 1878. When you enter, you are greeted by a curved staircase and 10-foot ceilings adorned with beautiful original plaster moulding. After living in our 140-year-old home for the past year and a half, I decided that I wanted to add a little more interest to our foyer. Of course I turned to my favorite trim product, Royal PVC Lattice. PVC Lattice was the perfect foundational piece to get this project started.
Today I’m sharing my entryway and foyer transformation and some tips if you want to tackle this super easy DIY yourself!
My Goal:
My goals for this project were to accent the original charming aspects of our home, create interest without competing with the ornate details already on the sides of our stairway, and to avoid interfering with our plaster crown moulding.
What to Consider:
When adding trim to a room there are several things to consider:
- The style or look you want to achieve
- The style of your home’s existing trim/moulding
- The dimensions of your space
- Layout/design
I wanted this update to feel true to the Victorian style of our home, and for it to look as though it was original to the house. With this in mind I chose a traditional Beaded Recessed Panel design.
To create a recessed panel, traditionally a panel or thin sheet of plywood is attached to the wall, and then strips of wood would be nailed on top, spaced a particular distance apart. Today, the existing wall material (in my case, plaster) acts as the panel. The decorative beaded trim is then added between the stiles or boards.
First things first, decide on a layout:
Once I researched traditional moulding styles and sketched up a quick design, I gathered my materials and got to work.
For this project I used:
- Royal PVC Lattice
- 13/32-in x 8-ft White Hard Unfinished Chair Rail Moulding
- Compound miter saw
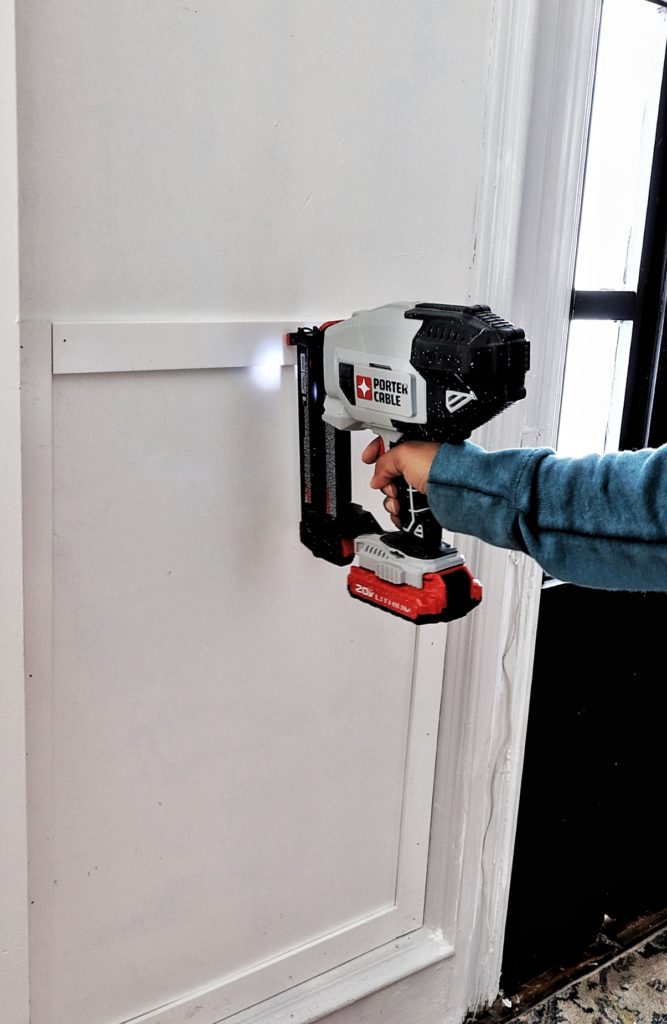
- Cordless Brad nailer
- Level
- Caulk, white, paintable
- Spackle
- Tape measurer
- Pencil
Since I decided not to disrupt the original plaster crown moulding or the original baseboards, the PVC lattice was ideal for this application, as it does not protrude beyond the profile of my baseboard.
Another reason I chose PVC Lattice is its flexibility. It is perfect for curved or angled walls, as it easily bends without needing any special cuts.
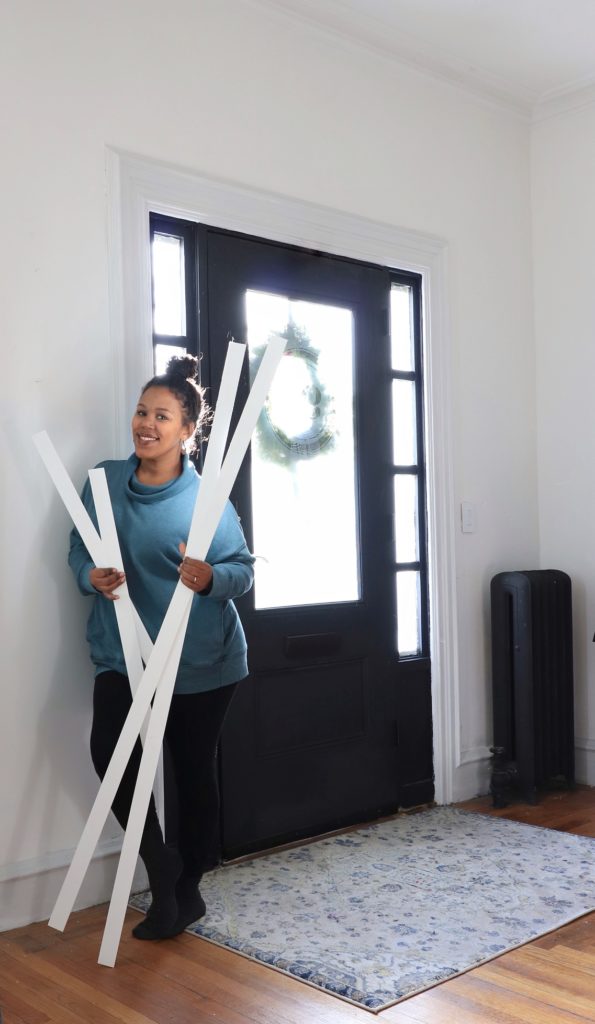
I started around the doorway, measuring my first pieces to build the lower portion of the trim.
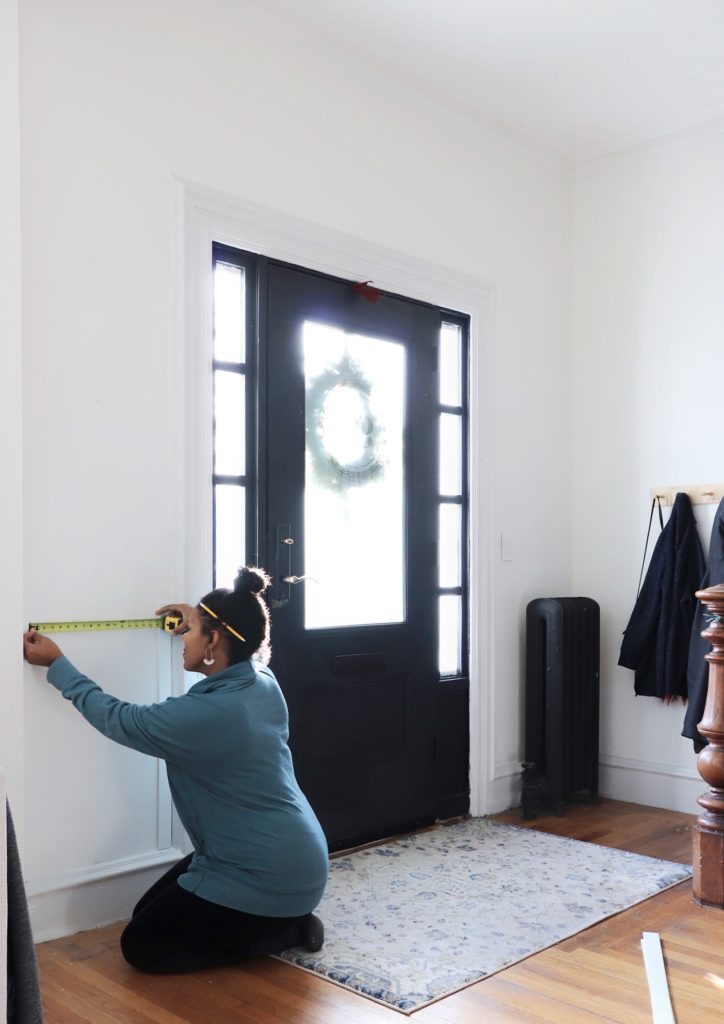
I measured my first two pieces and nailed them to the wall using my brad nailer. I then added the top and bottom pieces, ensuring it was level and square.
Next I measured the inside of the square to add decorative trim. These pieces were mitered at a 45 degree angle like a picture frame and nailed to the inside perimeter of my rectangle.
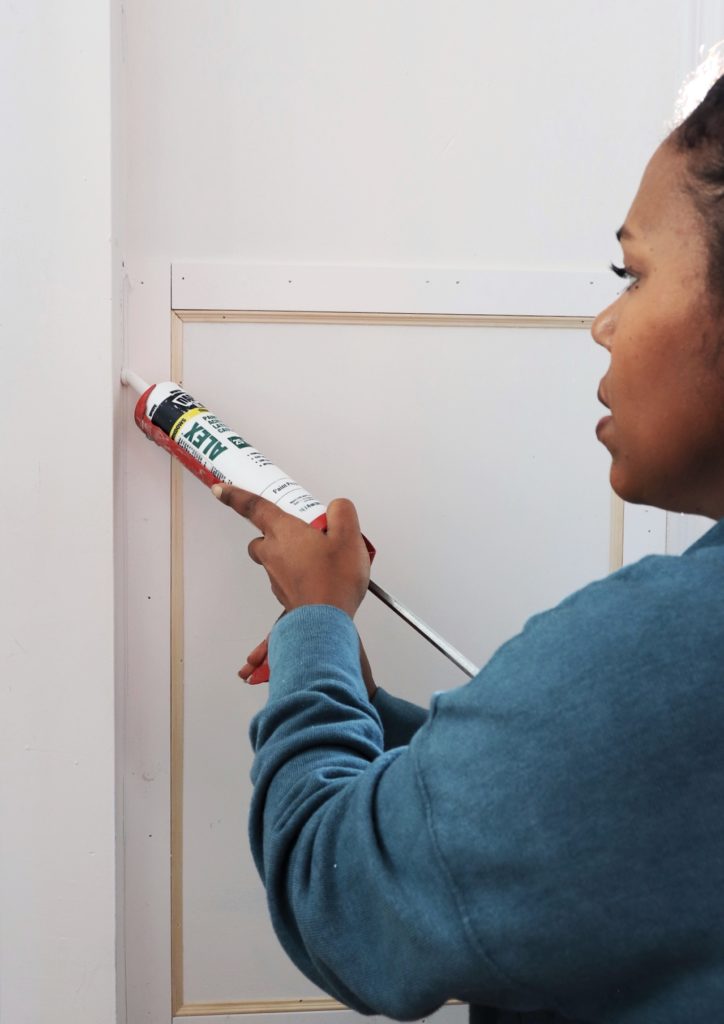
The next step (my favorite part) was to caulk the seams and spackle the nail holes.
After the door wall was complete, I moved on to the adjacent stairway wall.
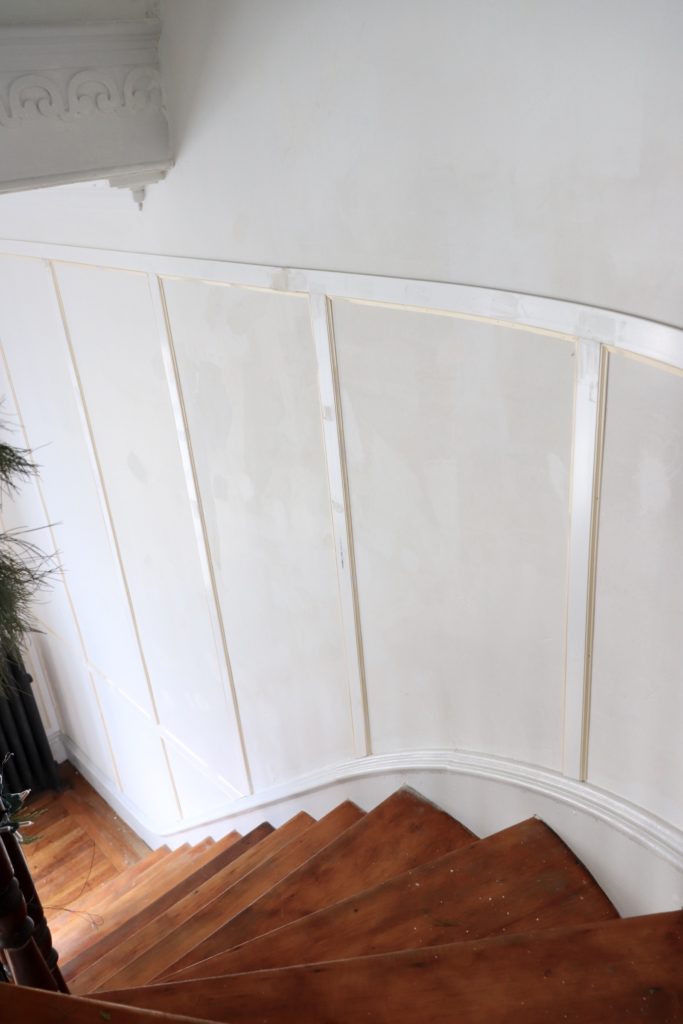
Once all the trim was installed and all seams and nail holes were filled, I began to paint. The Royal PVC lattice was ready to paint and easily covered with two coats of semi-gloss paint.
Before Renovation
Before Royal PVC Lattice
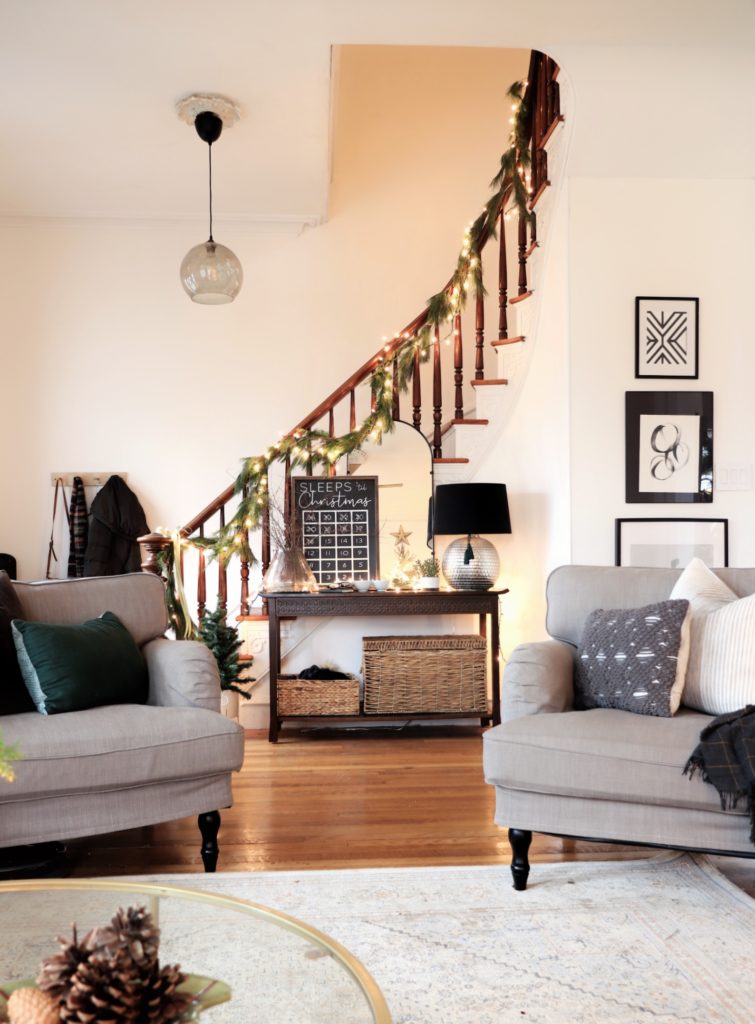
After PVC Lattice Renovation
I just love how this trimwork provides additional character and interest without being overbearing. This is a super easy beginner’s project and could be completed without power tools.
Ready to get started on your own renovation? Check out Royal’s Interior Trim & Moulding gallery for ideas and design inspiration.